
Walk Through Tutorial
A step-by-step guide to setting up and using BrickTracker with examples.
Note
This tutorial is based on BrickTracker version 1.3 and includes all the latest features. Each step includes expected screenshots and error handling.
What You'll Accomplish
By the end of this tutorial, you'll have:
- ✅ BrickTracker fully installed and running
- ✅ Database initialized and configured
- ✅ Your first LEGO set added
- ✅ Instructions downloaded from both Rebrickable and Peeron
- ✅ Parts tracking and checking system configured
Step 1: Installation and First Launch
Create a compose.yaml file:
services:
  bricktracker:
    image: gitea.baerentsen.space/frederikbaerentsen/bricktracker:latest
    ports:
      - "3333:3333"
    volumes:
      - ./data:/app/data/
Create the folders:
mkdir -p data/{instructions,minifigures,parts,sets}Download the .env file:
curl -o data/.env https://gitea.baerentsen.space/FrederikBaerentsen/BrickTracker/raw/branch/master/.env.sampleEdit the data/.env file and change:
BK_REBRICKABLE_API_KEY="API KEY"Start the container with Docker:
docker compose up -dExpected Result: Database Error (Normal!)
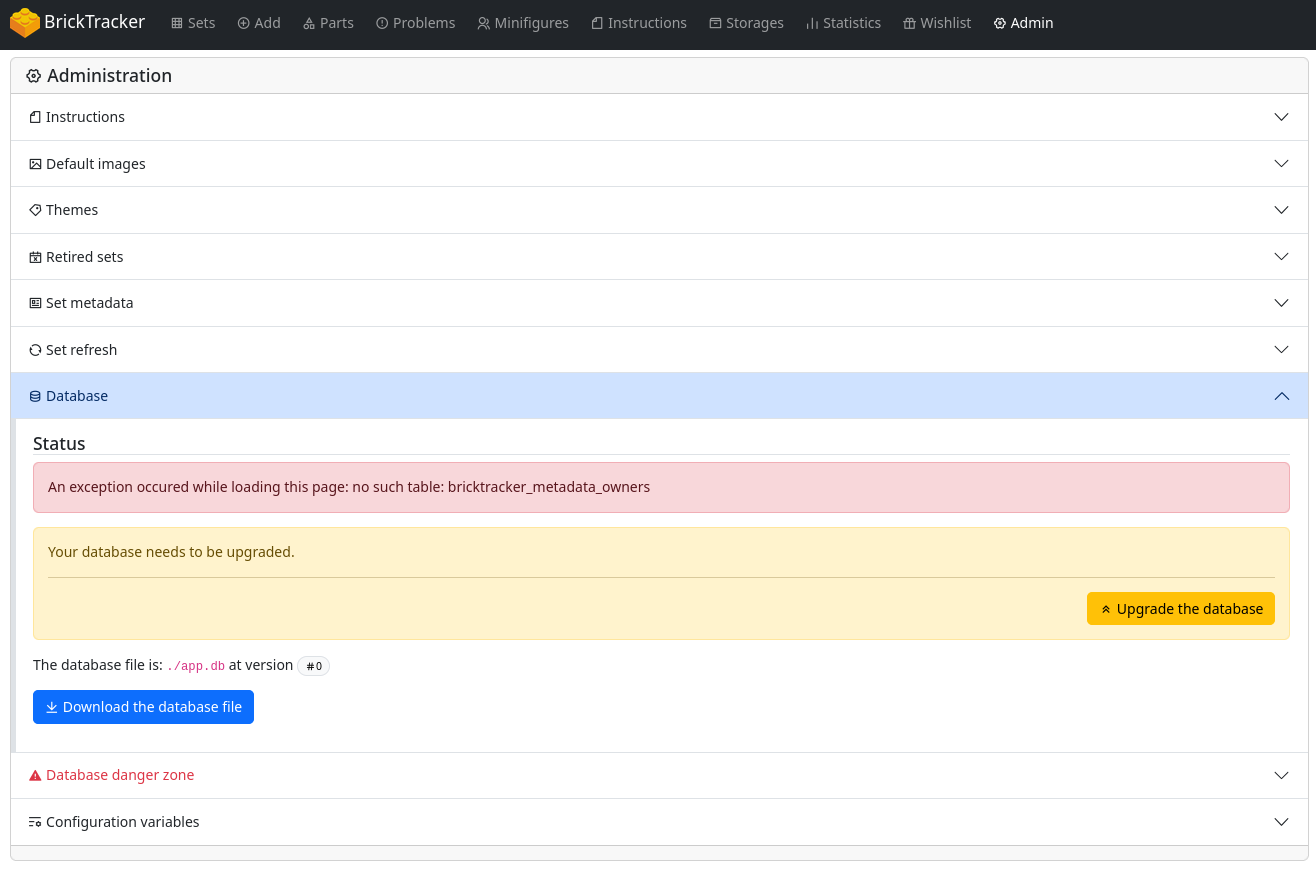
When you first visit http://localhost:3333, you should see an error page:

This is expected! BrickTracker needs to initialize the database on first run.
Step 2: Database Initialization
Access Administration Panel
Click the "Administration" button from the error page.
Initialize Database
The Database section should be open by default. Click Upgrade the database.
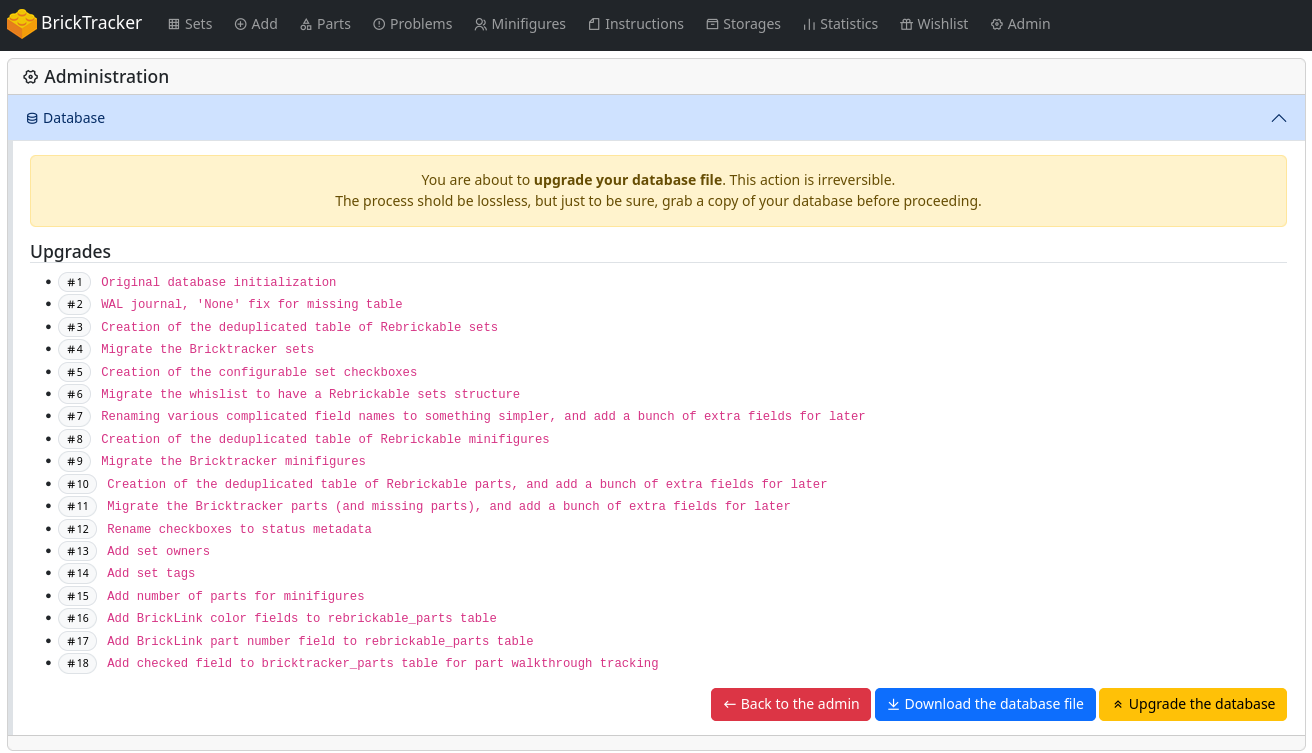
A section with the needed database migrations will show. Click Upgrade the database.
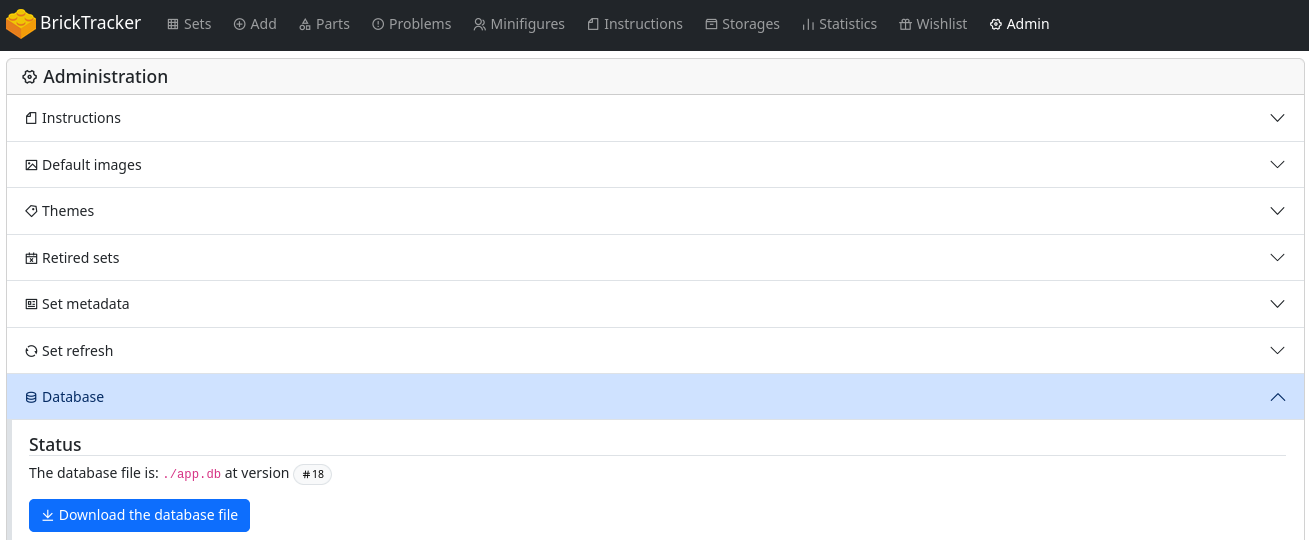
Success Confirmation
You should see a the new database version, after successfully upgradering:
Step 3: Setup default images, themes and retired sets
Navigate to Default Images Section
Click on the "Default Images" section in the administration panel.

Click "Update the images"
Navigate to Themes Section
Click on the "Themes" section in the administration panel.
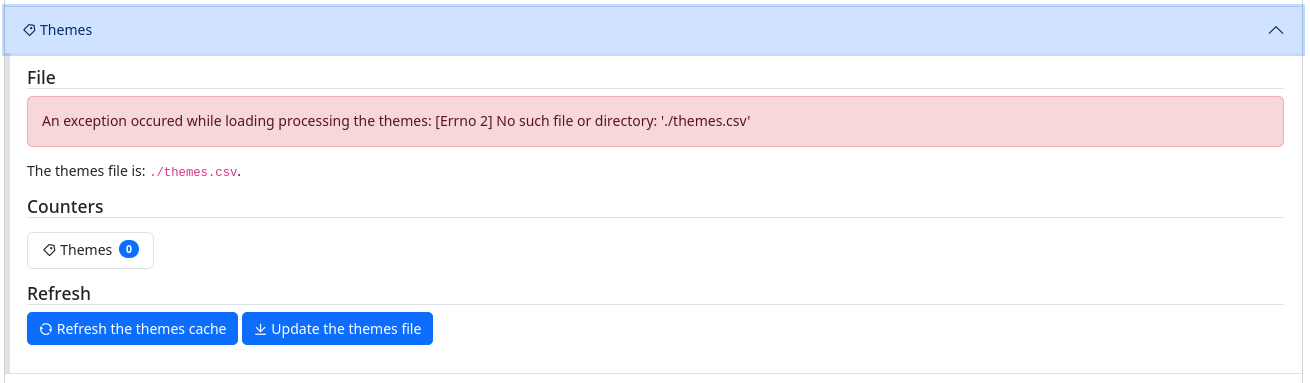
Click "Update the themes file"
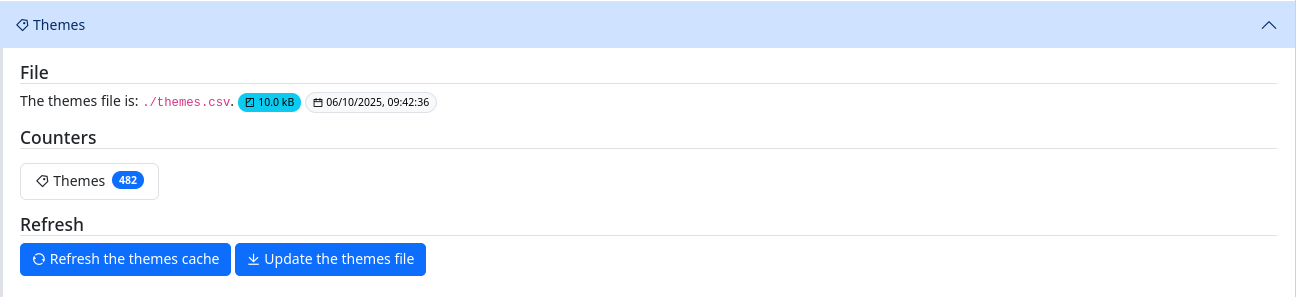
You should now see a themes counter with the amount of themes available.
Navigate to Retired Sets Section
Click on the "Retired sets" section in the administration panel.
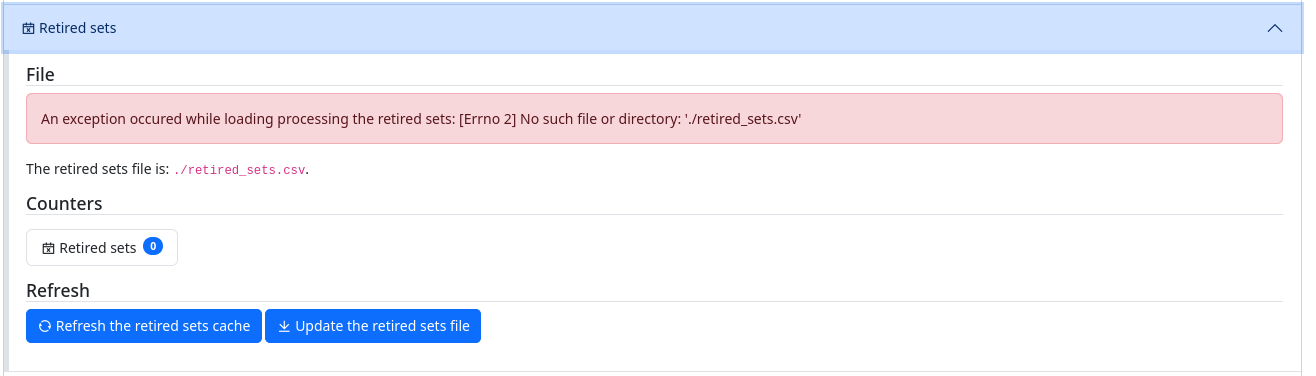
Click "Update the retired sets file"
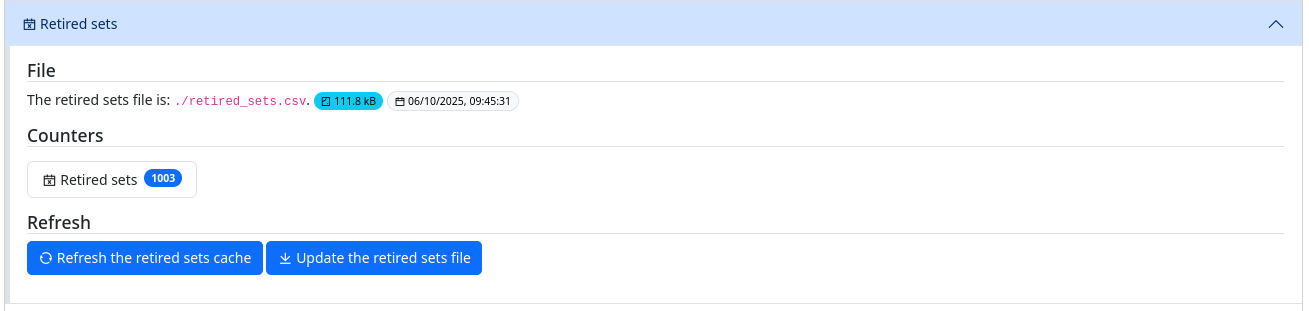
You should now see a retired sets counter with the amount of retired sets available.
Step 4: Adding Your First Set
Navigate to Add Set Page
Use the main navigation to go to "Add Set".
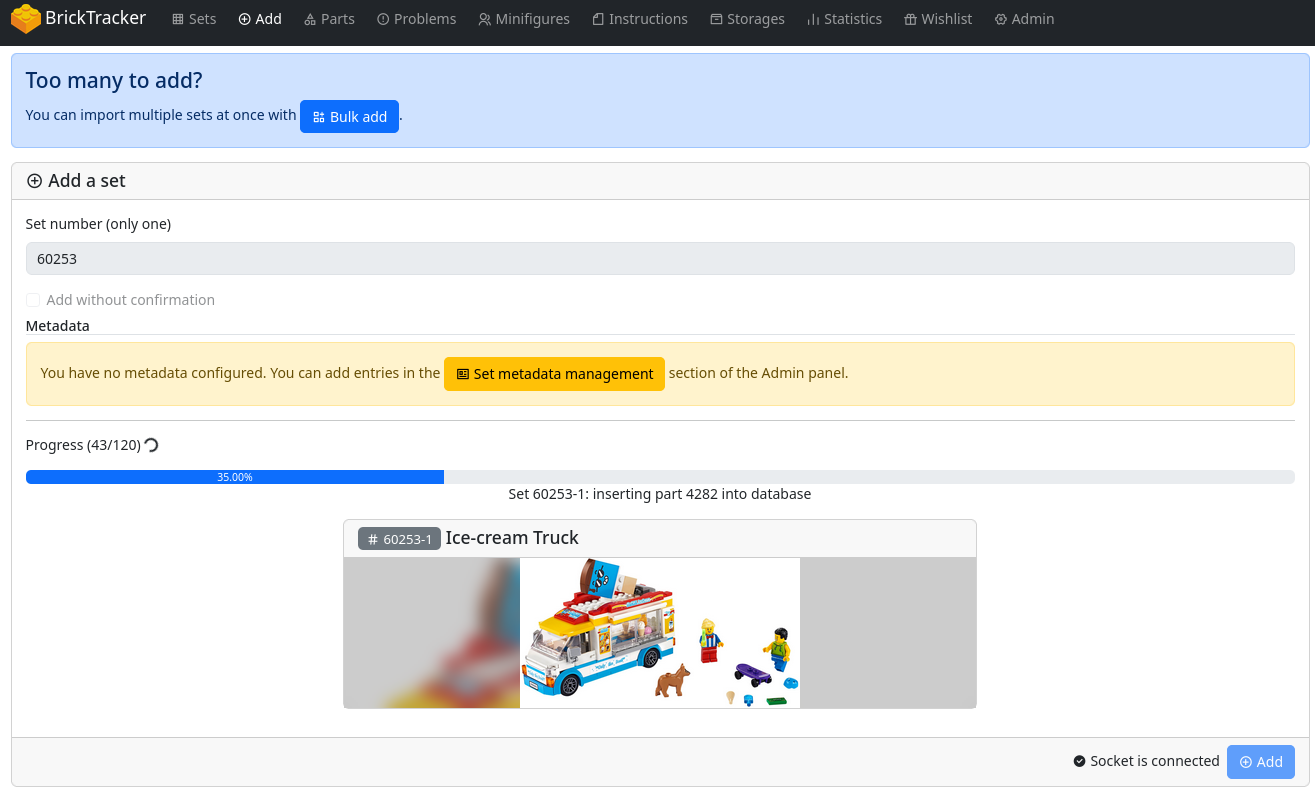
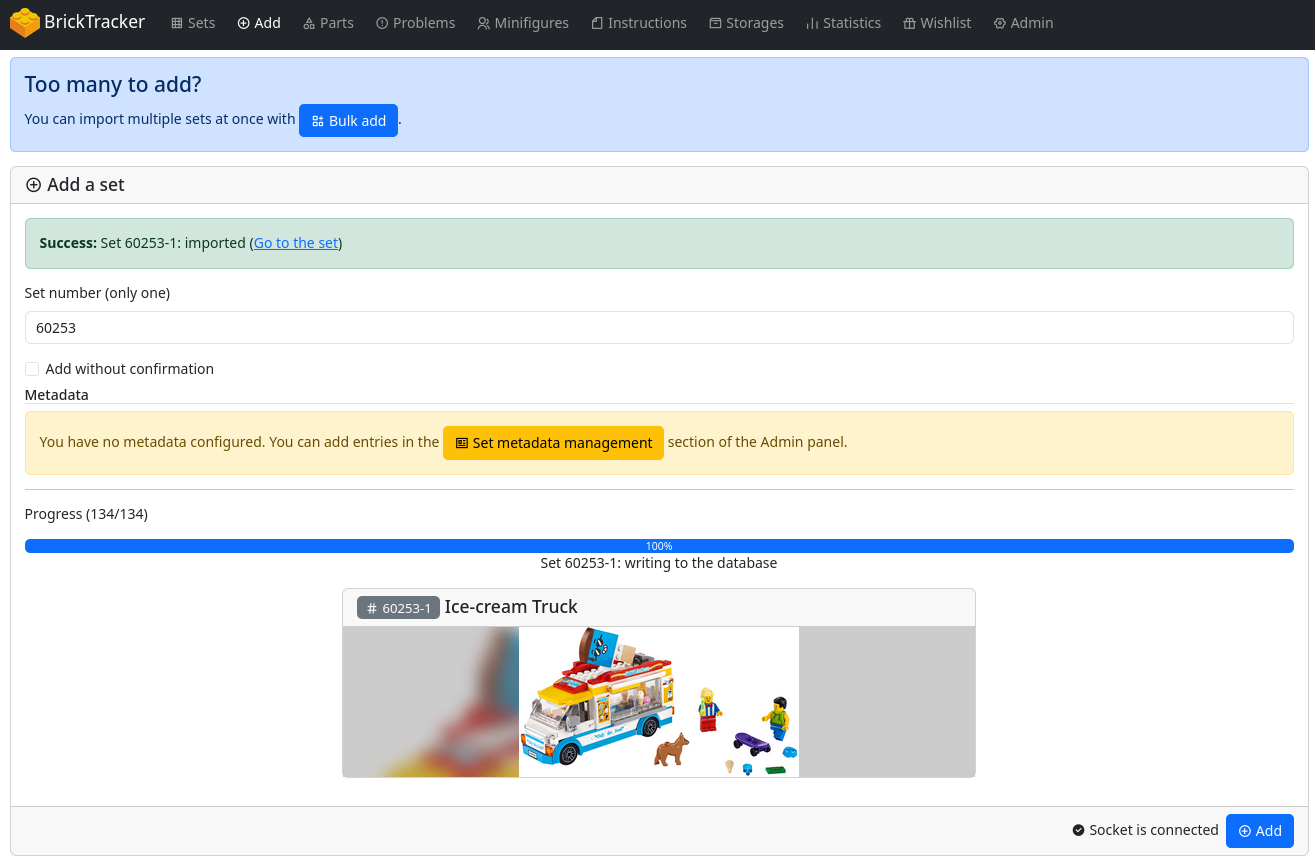
Ensure the socket shows "Socket is connected" (indicator in bottom right corner):

Add a Set
- Enter set number:
60253 - Click "Add Set" button

Confirm Addition
Click "Confirm add" to add the set to your collection.
Success and Direct Link
You should see a success message with a direct link to your new set:
Step 5: Browse Sets
Navigate to Sets Page
Use the main navigation to go to "Sets".

As we only added one set, that's all we see.
Set details
Click on the set and go to the details page.
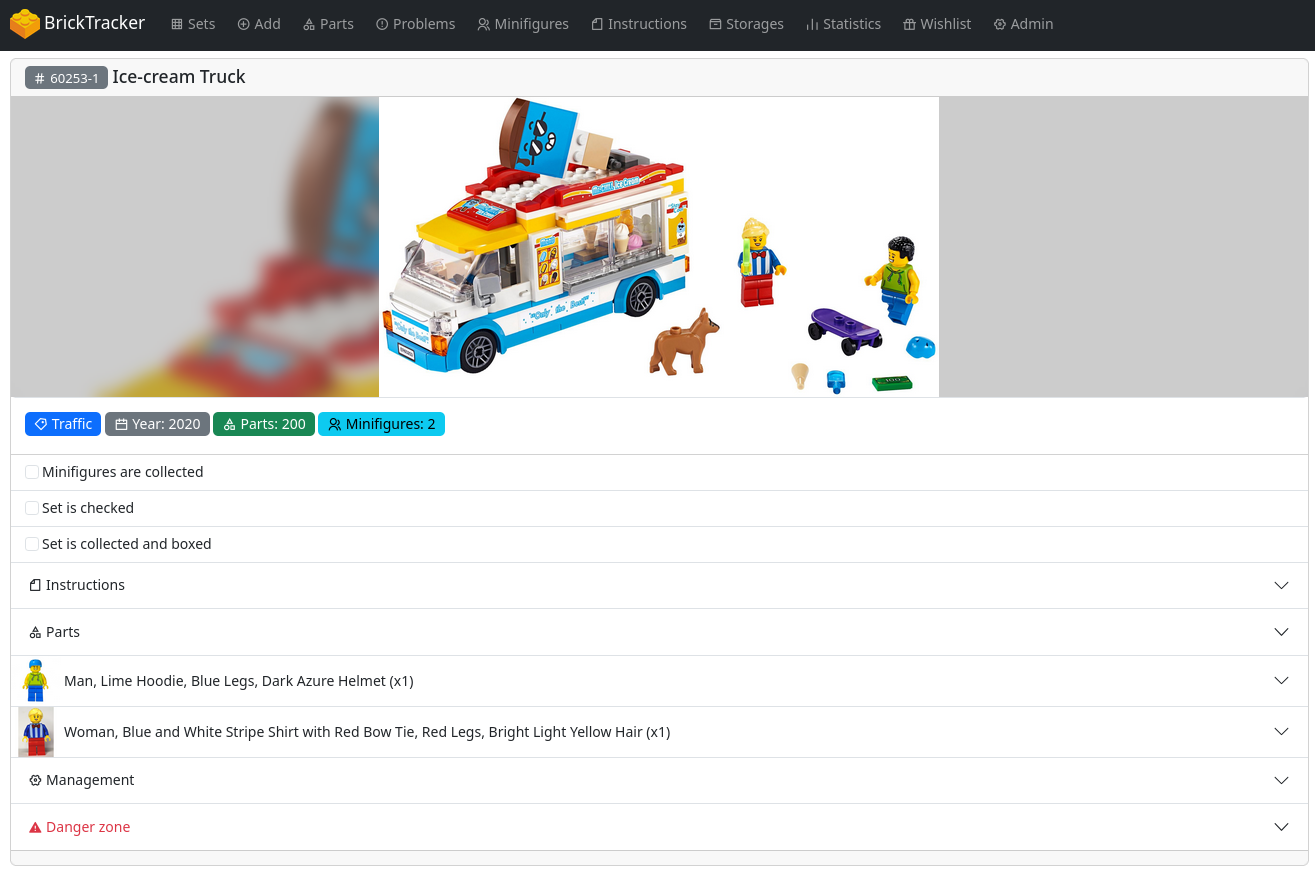
Here we see different sections:
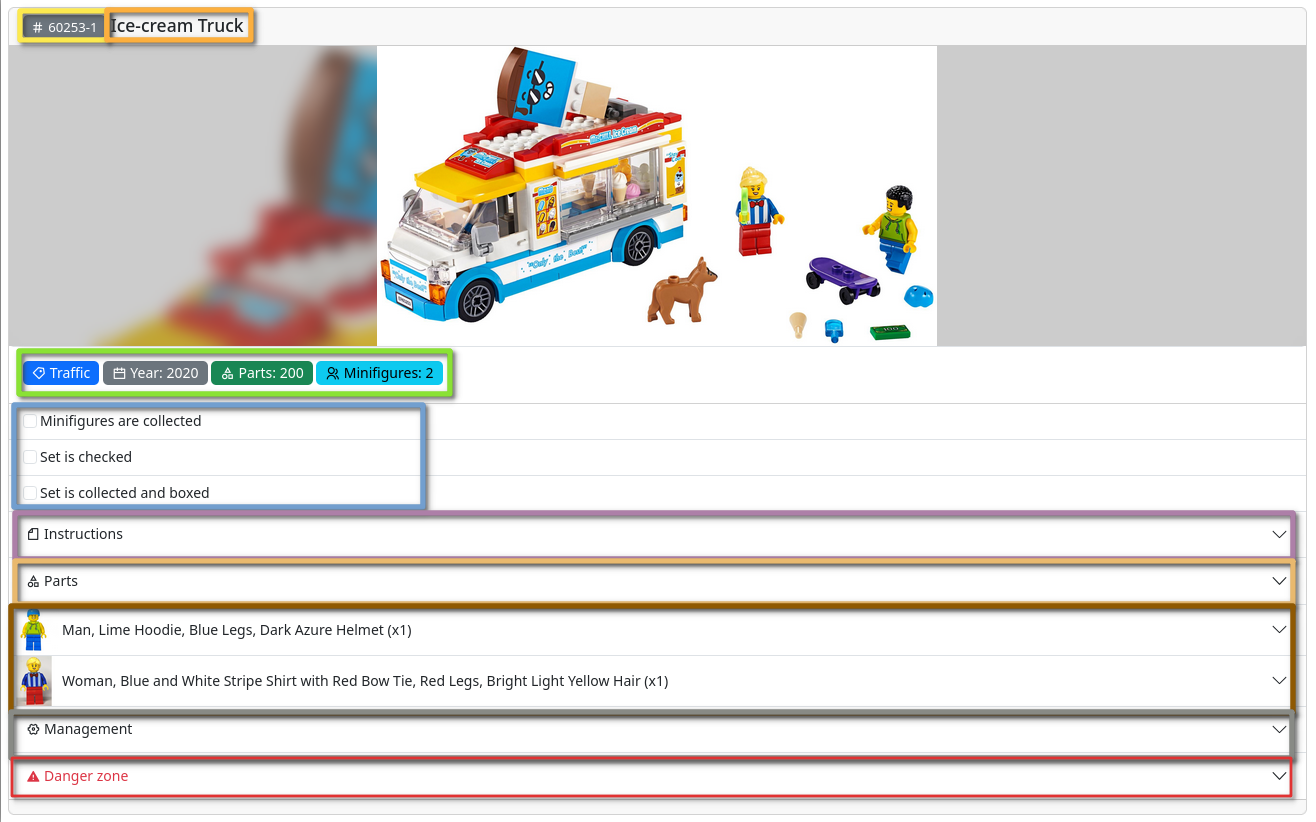
- Set number (Yellow): Set number from Rebrickable.
- Set name (orange): Set number from Rebrickable.
- Set info (green): Set info like theme, year, parts, minifigures. If a set has an owner or storage/purchase information, it will also show up here.
- Set status (blue): Set status can be changed in the admin panel
- Drawer for instructions (purple): Lists local instructions
- Drawer for parts (beige): Lists parts
- Minifigures (brown): Drawer for minifigure parts
- Management (gray): Edit set info like owner, purchase information, tags, storage location.
- Danger Zone (red): Drawer with button to delete the set
Step 6: Downloading Instructions
Rebrickable
Expand Instructions Section
Click on the "Instructions" accordion section:
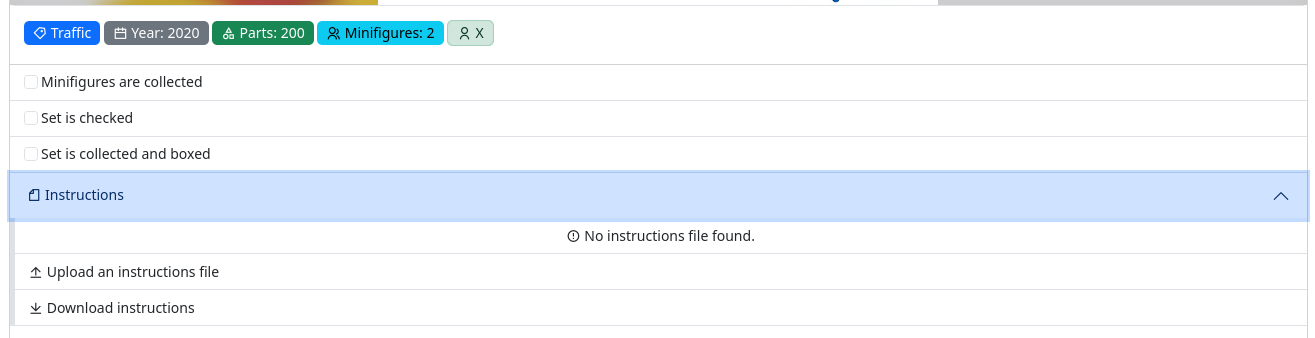
Since there are no local instructions, click "Download instructions":
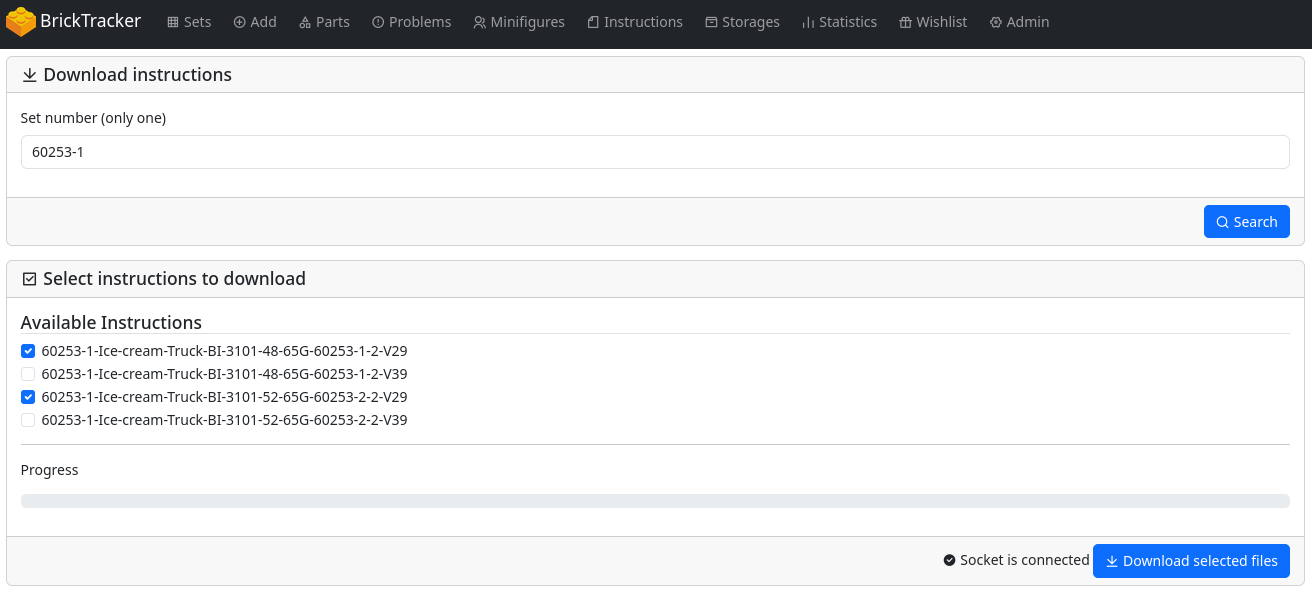
Download from Rebrickable
The set number is automatically added, when coming from a sets details page.

Click "Search".
Select Instructions
Select the instructions you want to download and click "Download selected files":
INFO
V29 is generally European A4 whereas V39 is US-Letter
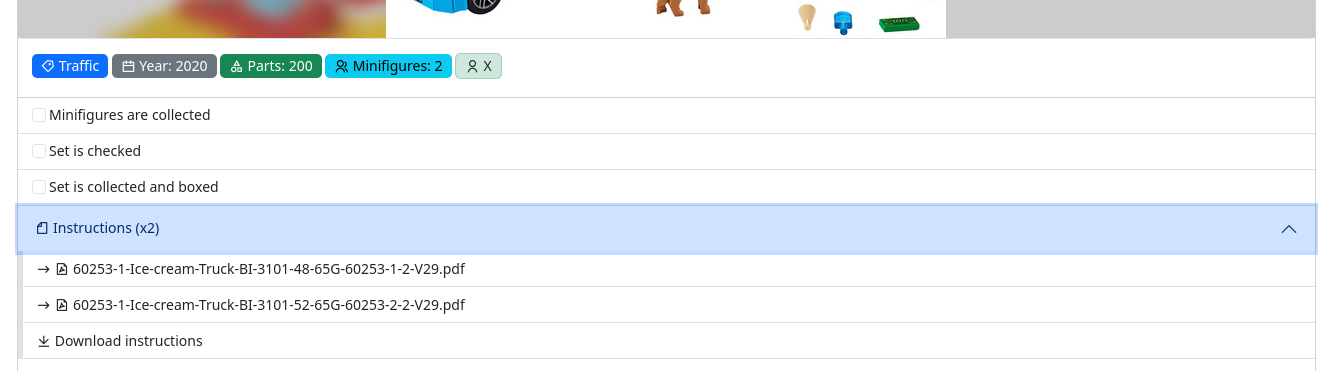
View Downloaded Instructions
After successful download, the instructions will appear in the list:
Peeron
Add a vintage Set
Let's test Peeron integration with an older set. Add set number: 2150-1
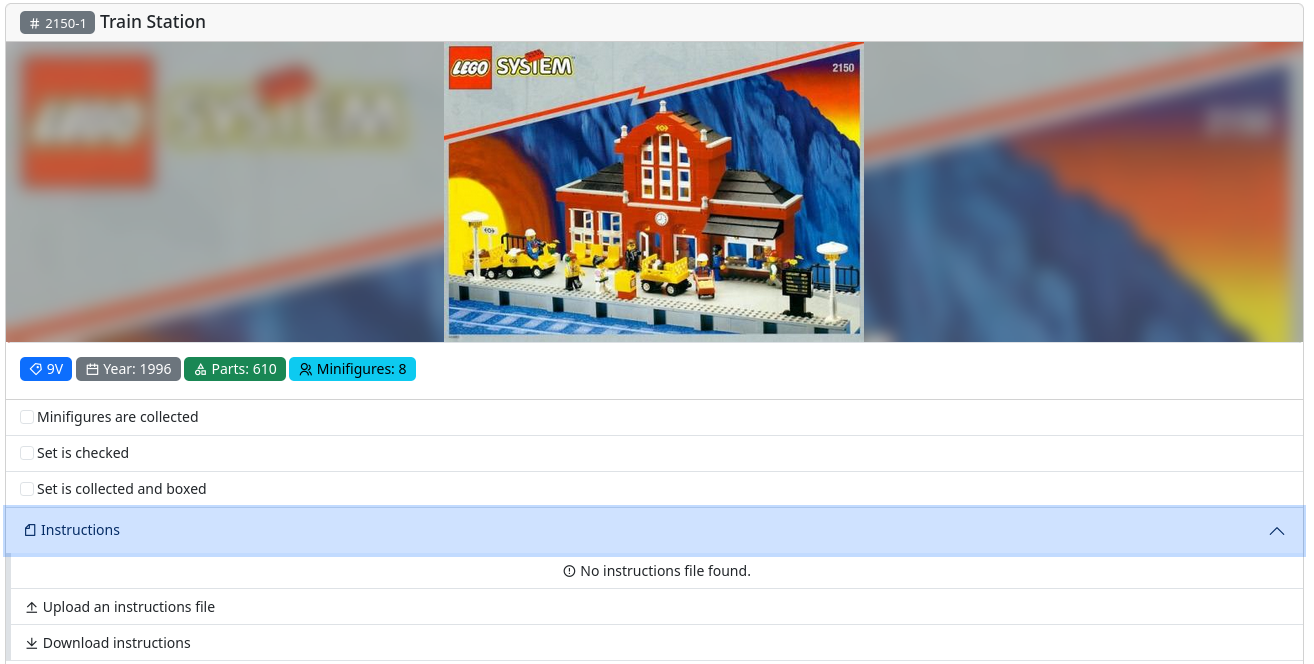
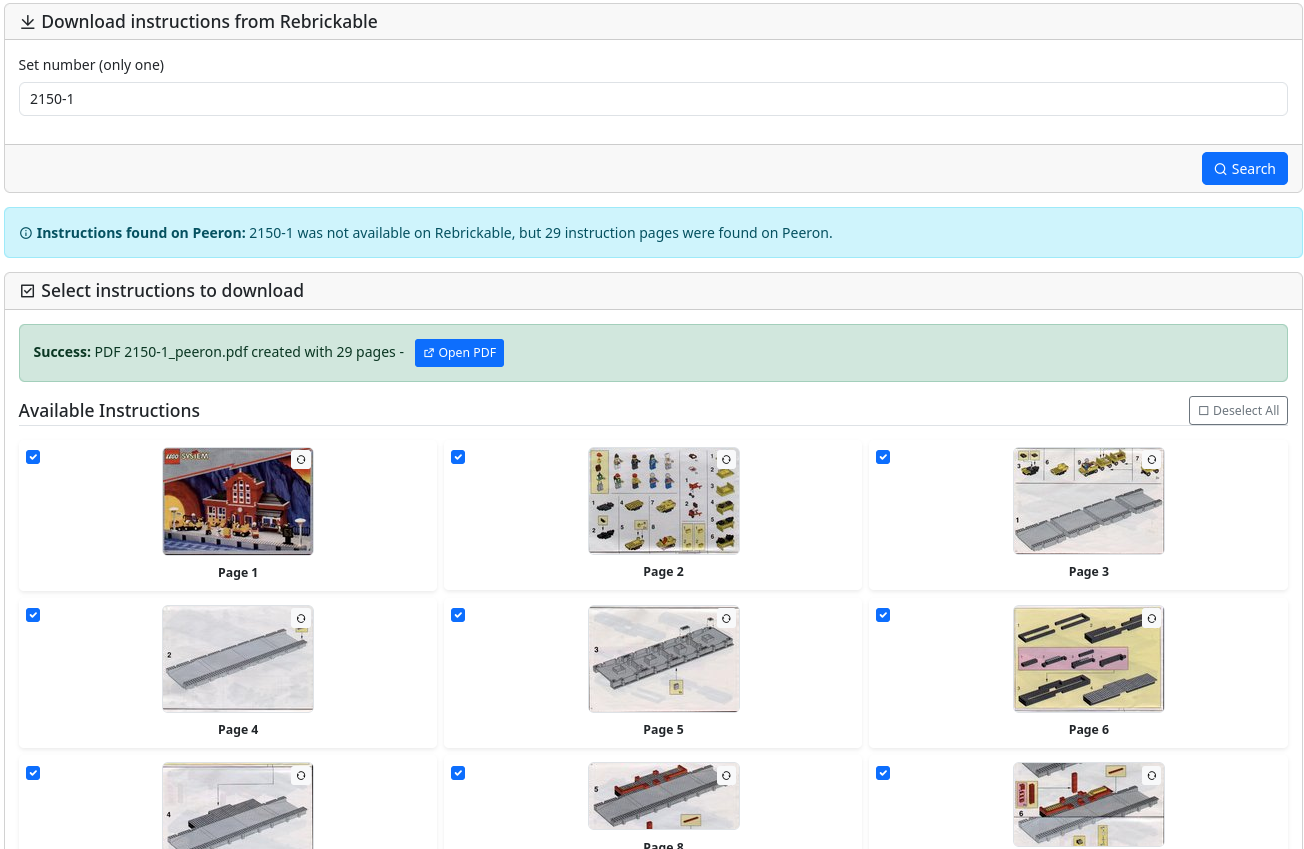
Download from Peeron
This set isn't available on Rebrickable, so it will fallback to Peeron:
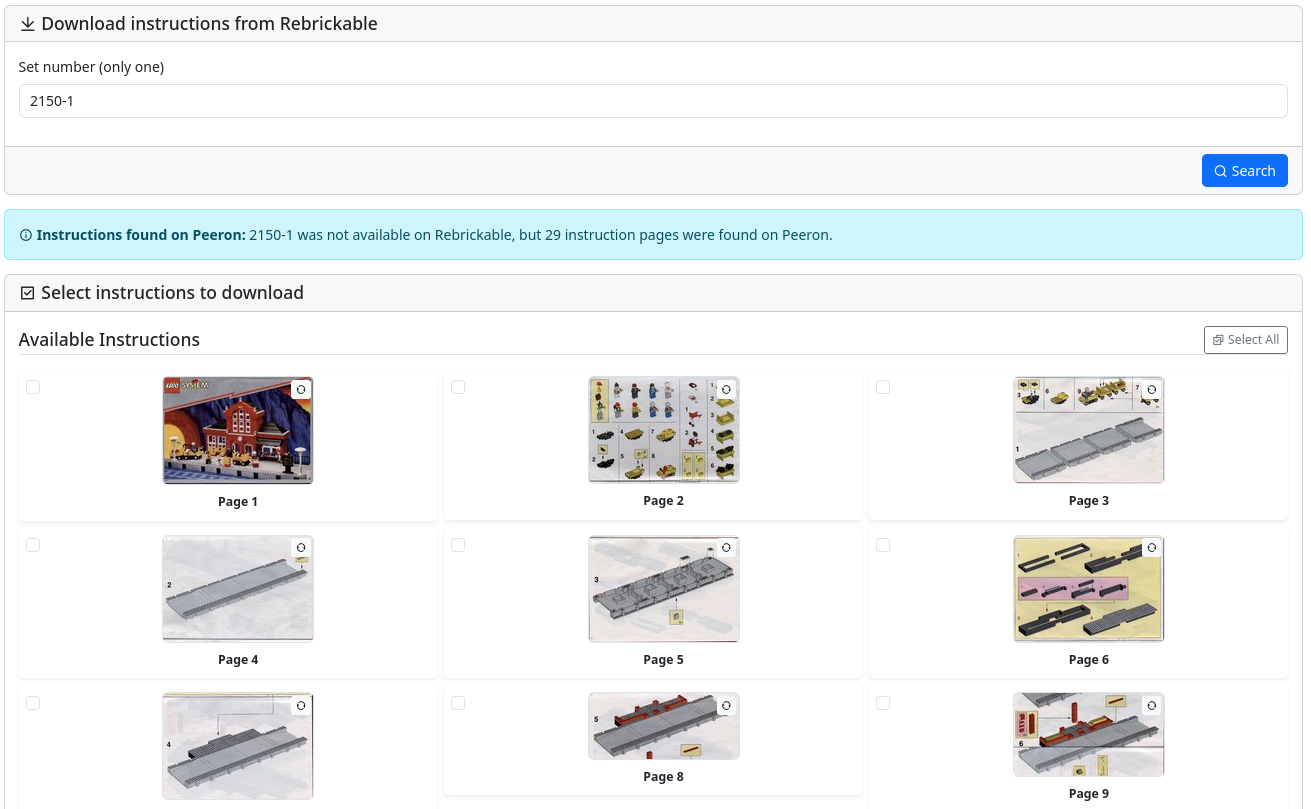
INFO
Loading each image will use BK_PEERON_DOWNLOAD_DELAY as a delay. Default is 1000ms. This is to avoid spamming Peeron for images.
Select the pages you want or use "Select all". Each page can also be rotated using the small button on each page.
Instructions successfully downloaded from Peeron and converted to PDF:
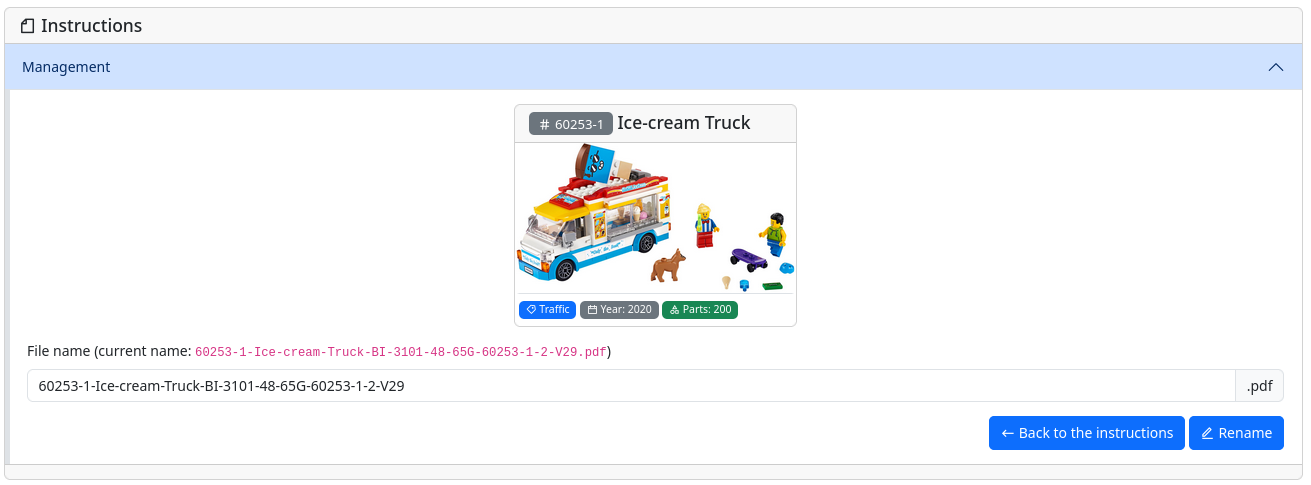
Instructions Management
Use the main navigation to go to "Instructions".

Here all instructions are shown and it is possible to delete or name files.
Step 7: Parts Checking System
In your set details, expand the "Parts" section:
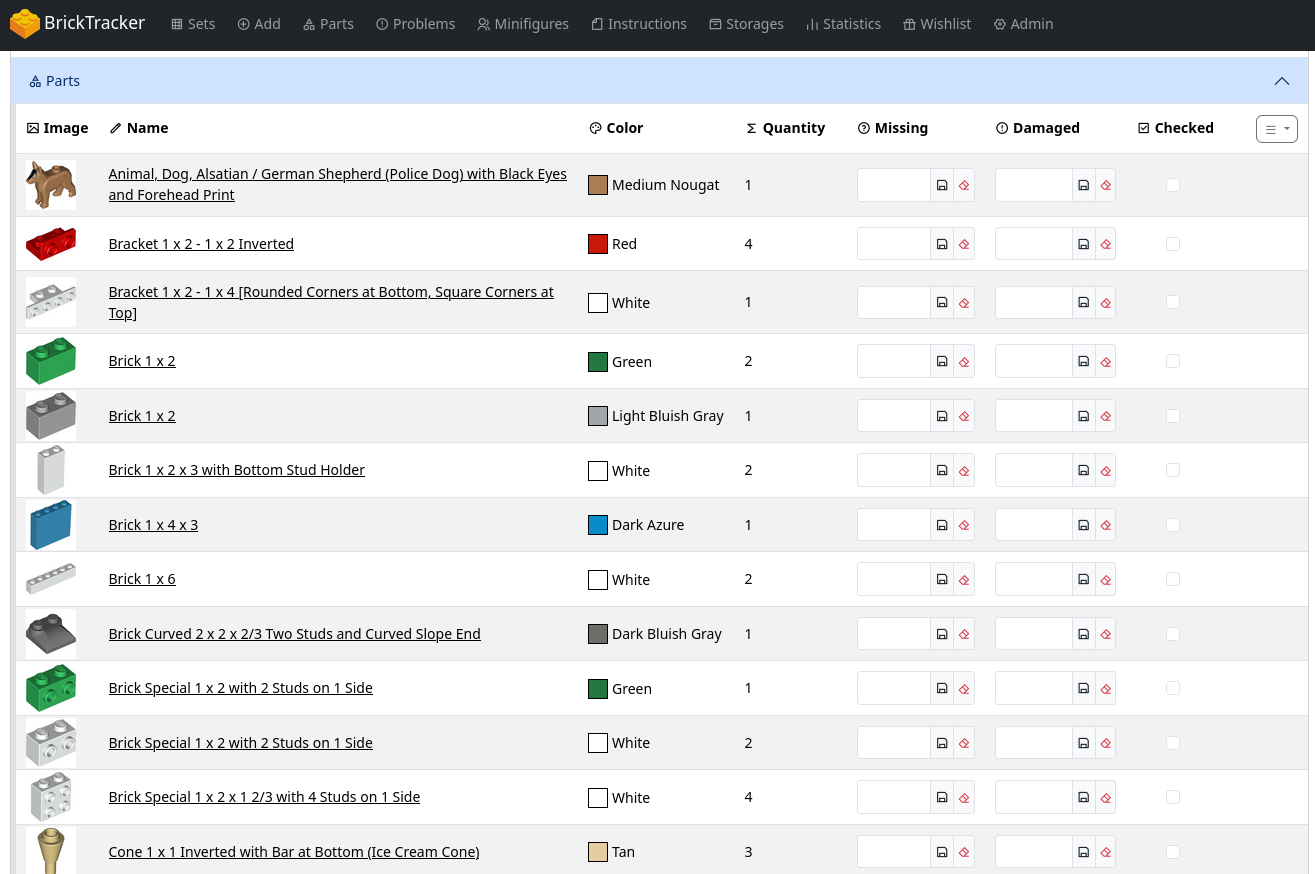
Use the "Checked" column to check off parts as you verify them:

The checkmarks save automatically and help track your inventory progress:
Use the "Missing" and "Damaged" columns to mark parts for this specific set as missing or damaged:
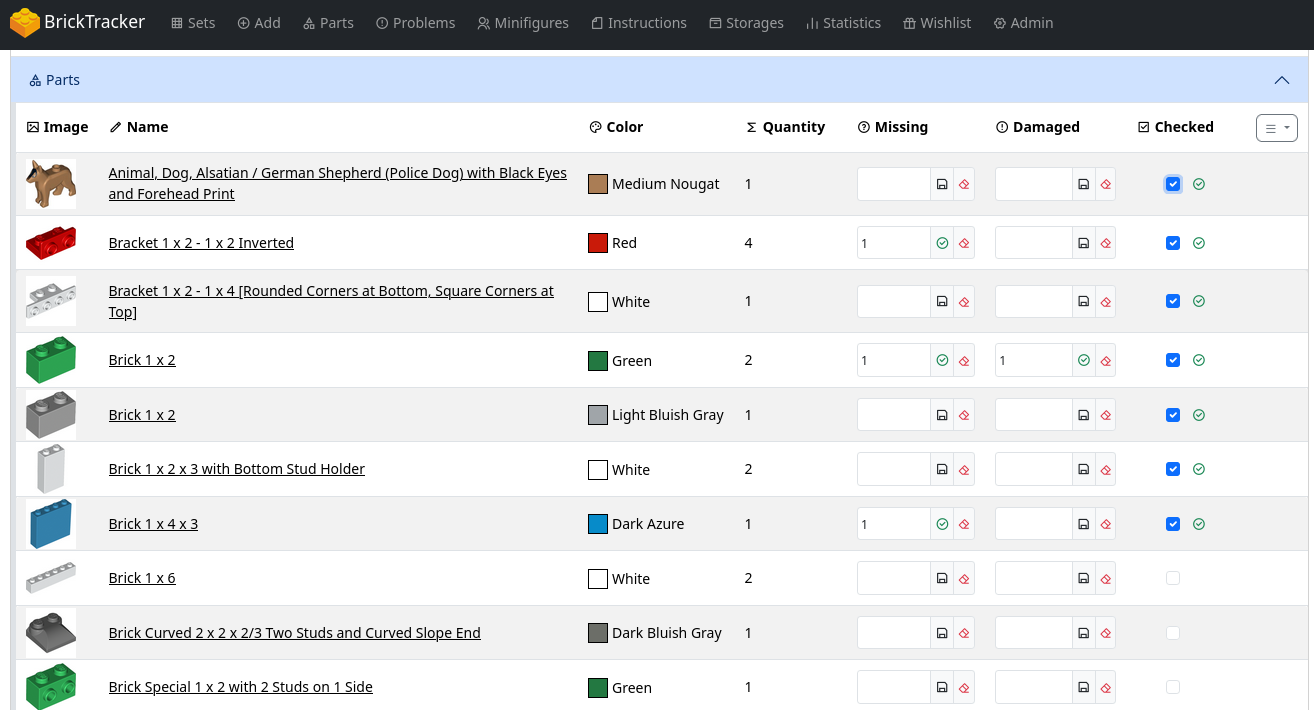
The data is saved automatically (green checkmark).
Step 8: Set Consolidation
Notice
Make sure BK_SETS_CONSOLIDATION=true in your .env or Docker Compose file.
Add multiple copies of the same set to test consolidation.
Navigate to "Sets" in the main menu. You should see a new tag with X Copies:
Notice
It is not possible to change set status on the Sets card if consolidated.
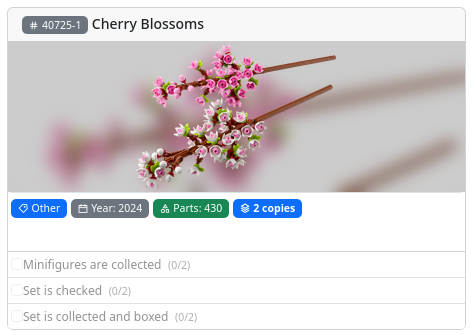
Click on the set card. In the details page, you'll see a "Multiple Copies Available" alert:
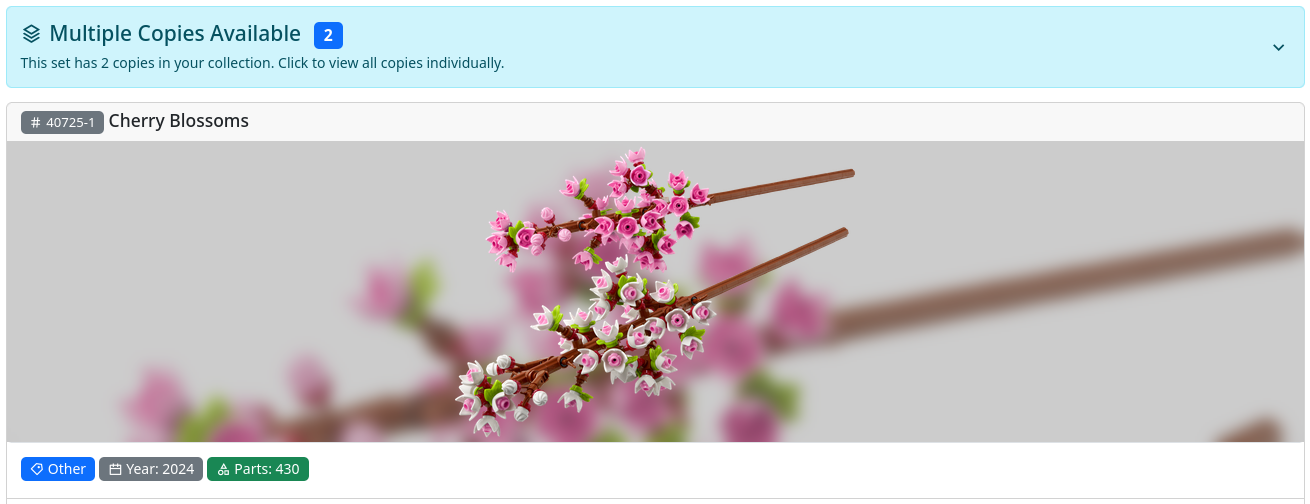
Click the drawer to expand and see all individual copies:
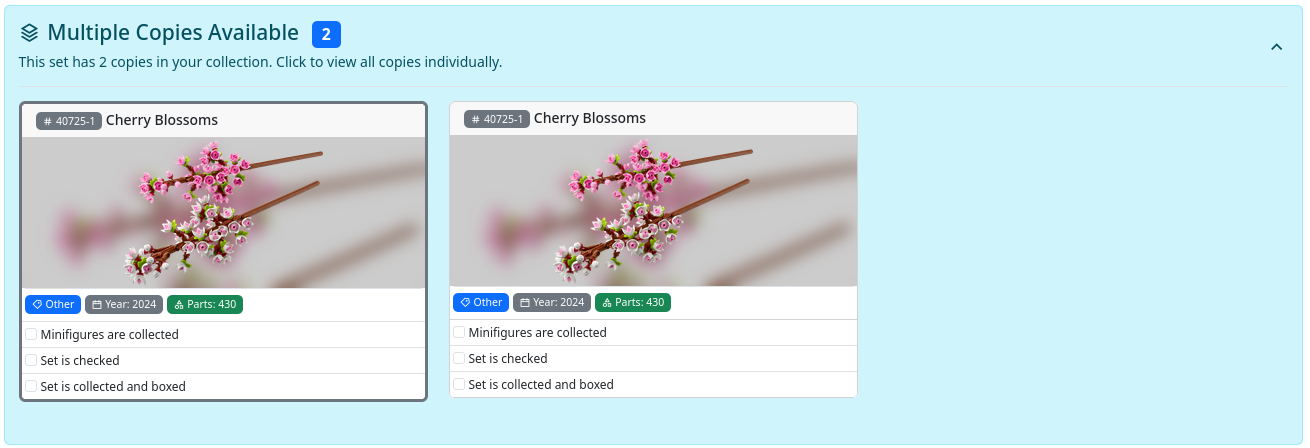
Each copy shows its own metadata and can be clicked for individual management. It is possible to change individual set status here.
Common Issues and Solutions
Issue: Socket Not Connected
Problem: Socket shows "Disconnected" status
Solution:
Check if CORS domain is configured correctly
grep BK_DOMAIN_NAME .envFor local development, ensure it's not set.
Issue: API Key Error
Problem: "Rebrickable API key is required" error
Solution: Verify API key is set correctly in .env
grep BK_REBRICKABLE_API_KEY .envEnsure no extra spaces around the key.
BK_REBRICKABLE_API_KEY=your_key_here  # Correct
# BK_REBRICKABLE_API_KEY= your_key_here   # Wrong (space)
Issue: Peeron Download Fails
Problem: Peeron instructions fail to download
Solution: Increase download delay to avoid rate limiting
BK_PEERON_DOWNLOAD_DELAY=2000 # 2 seconds between requestsCheck network connectivity return 200 OK
curl -I http://belay.peeron.com/scans/2150-1/1/Issue: Sets Not Consolidating
Problem: Multiple copies show as separate cards
Solution: Ensure consolidation is enabled
grep BK_SETS_CONSOLIDATION .envSet to true
BK_SETS_CONSOLIDATION=trueNext Steps
Now that you're set up:
- Configuration Reference - All environment variables explained
- Troubleshooting Guide - Solutions for common issues